

As we all know how much important it is to have a virtual host for any of your projects. If you have a virtual host for your projects you will not have to think about running the PHP artisan server every time you want to make changes to the project. The virtual host will give you the domain for your local on which you can run your project every time and that domain will be limited to your machine only and will not be public.
so the question is how you can create a virtual host now . by following these steps you will be able to create your own virtual host
Step 1
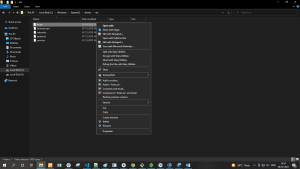
Download notepad ++
So this is step one first you need to download notepad++ as its easy for you to access the files with administrator rights in note pad ++;
visit the below link to download notepad ++
https://notepad-plus-plus.org/downloads/
Step 2
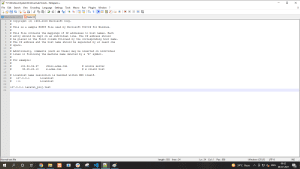
you need to modify the host file of Windows located in C:\Windows\System32\drivers\etc\hosts. Remember to edit the host’s file using an editor with administrator rights, otherwise, you won’t be able to save the changes. so to have the admin rights just open this file with notepad ++.
now add this line on the page like this: 127.0.0.1 laravel_proj.test
here 127.0.0.1 is the host on which you want to run your project and “laravel_proj.test” is the name of the URL on which you will run your project as a virtual host.
Step 3
Configure Virtual Host
The entry point of a laravel application is the index.php inside the public folder, so the desired directory for our application will be the absolute path to your project in the public folder.
So to run the laravel project from the virtual host we will give the path to the public folder.
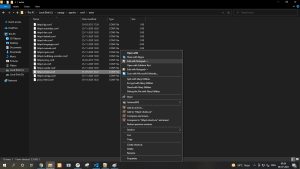
to do that open the from the following paths \xampp\apache\conf\extra\httpd-vhosts.conf.
So the file name that you have to open is httpd-vhosts.conf.
<VirtualHost *:>
DocumentRoot “C:\xampp\htdocs\laravel_project \public”
ServerName laravel_proj.test
ServerAlias laravel_proj.test
Header set Access-Control-Allow-Origin “*”
Header add Access-Control-Allow-Headers “Origin,Content-Type, Accept,Authorization,x-API- key, X- CSRF-TOKEN”
Header add Access-Control-Allow-Methods “POST, GET, PUT, DELETE, OPTIONS”
Header add Access-Control-Allow-Credentials: “true”
<Directory ” C:\xampp\htdocs\ laravel_project \public “>
Options All
AllowOverride All
Order Allow, Deny
Allow from all
</Directory>
</VirtualHost>
Here Document Root is the path to the public folder of your laravel project.
add the same for the directory “C:\xampp\htdocs\ laravel_project \public”
for the server name add the same name that you added in the previous step in the host’s files i.e. laravel_proj.test in our case.
Step 4
Visit your project from the browser
Now you can start to work on your project without worrying about the local server configuration.
That’s all for the creation of a virtual host with laravel.
Content credit- Vaibhav Joshi